
Start with a cool, steady surface
Before you clean a candleholder, let every part cool completely. Warm wax smears easily and can push deeper into textured surfaces, so patience here saves a lot of scrubbing later. Place the piece on a soft cloth or towel before you begin, especially if it is ceramic with a narrow base or a wooden holder with a hand-finished edge.
If the candleholder has been used in a draughty room or near an open window, wax may have set unevenly on one side. Check the base, the rim and any carved detail first. Those are the places where drips usually settle.
- Wait until the wax is fully hard.
- Move the item away from direct sunlight before cleaning.
- Use a folded cloth or tea towel under the piece.
- Check for chips, cracks or loose inserts before handling.
Lift wax without scratching the finish
The safest way to remove wax is to work with the wax itself, not against it. Start by flexing larger drips with your fingers. If the wax is brittle, it should pop off in one piece. For stubborn spots, use a wooden utensil or a plastic edge with a blunt corner. Avoid metal tools, scourers and sharp blades because they can mark glaze, timber oil and painted detail.
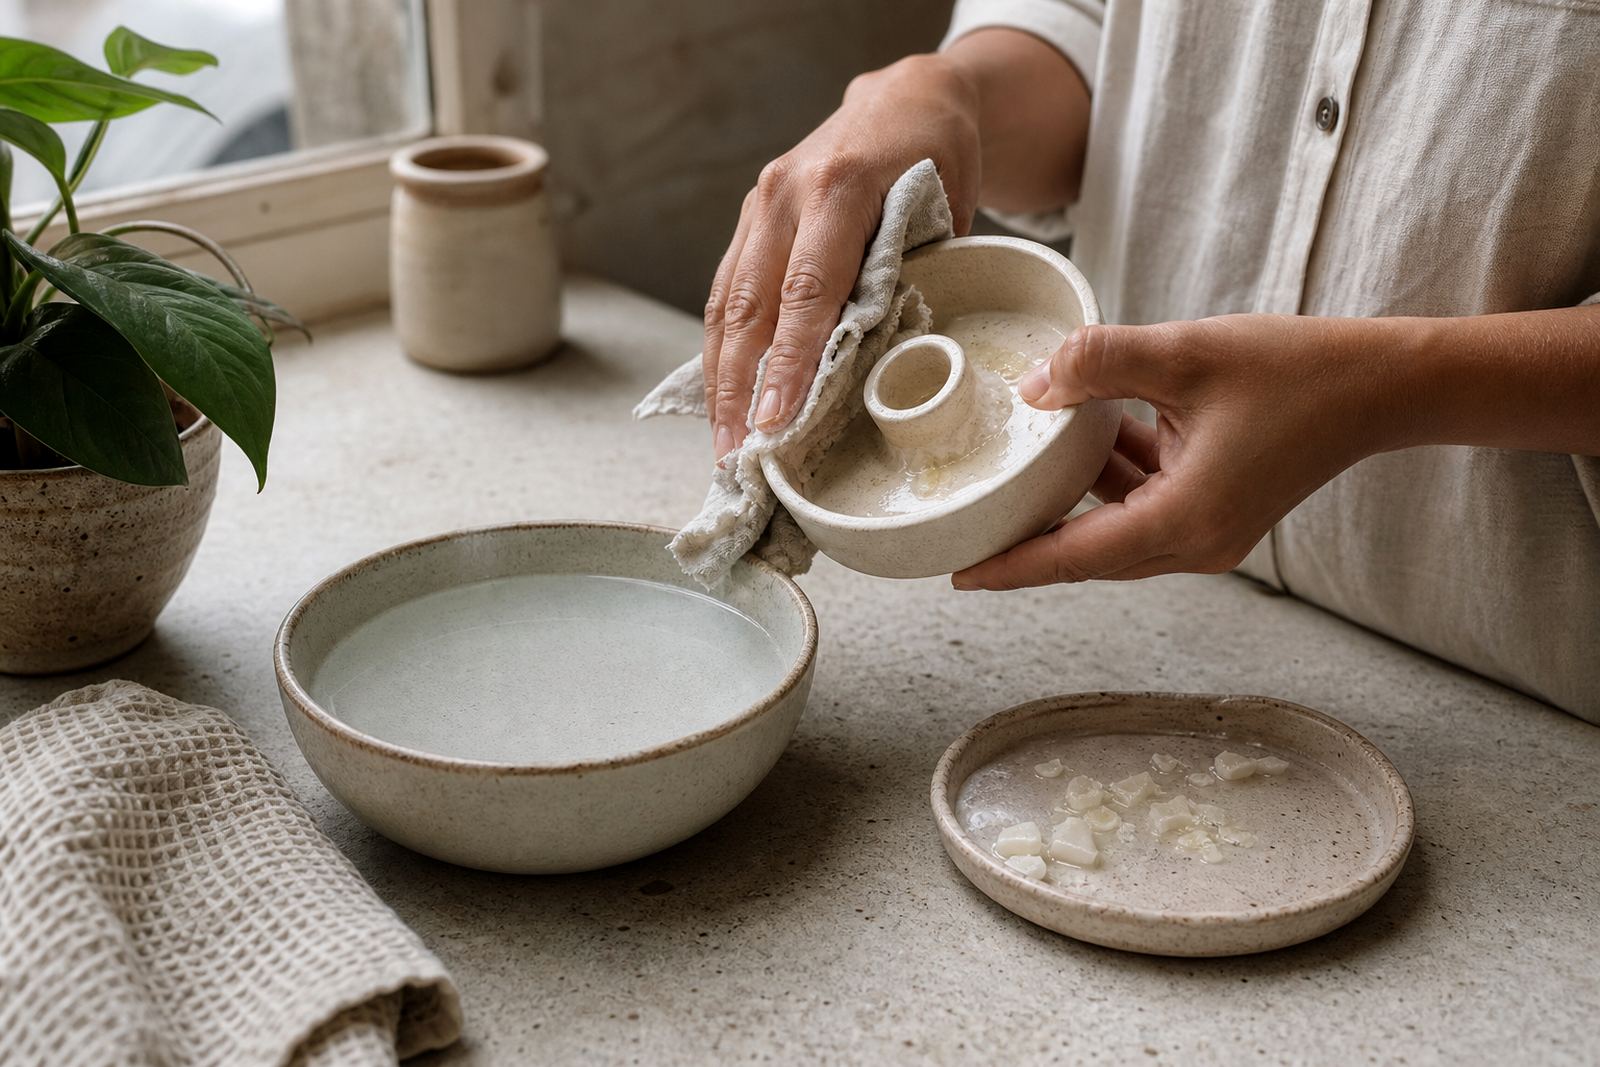
For thin wax residue, warm water helps more than force. Dip a cloth in warm, not boiling, water and hold it against the wax for a few seconds. The wax should soften enough to wipe away. If needed, repeat the step rather than rubbing hard. Handmade finishes often show a little variation, and heavy pressure can leave a dull patch.
- Use fingers first for thick wax.
- Choose a wooden or plastic edge for lifting.
- Never scrape glazed or painted areas with metal.
- Soften residue with a warm damp cloth.
Clean ceramic holders the careful way
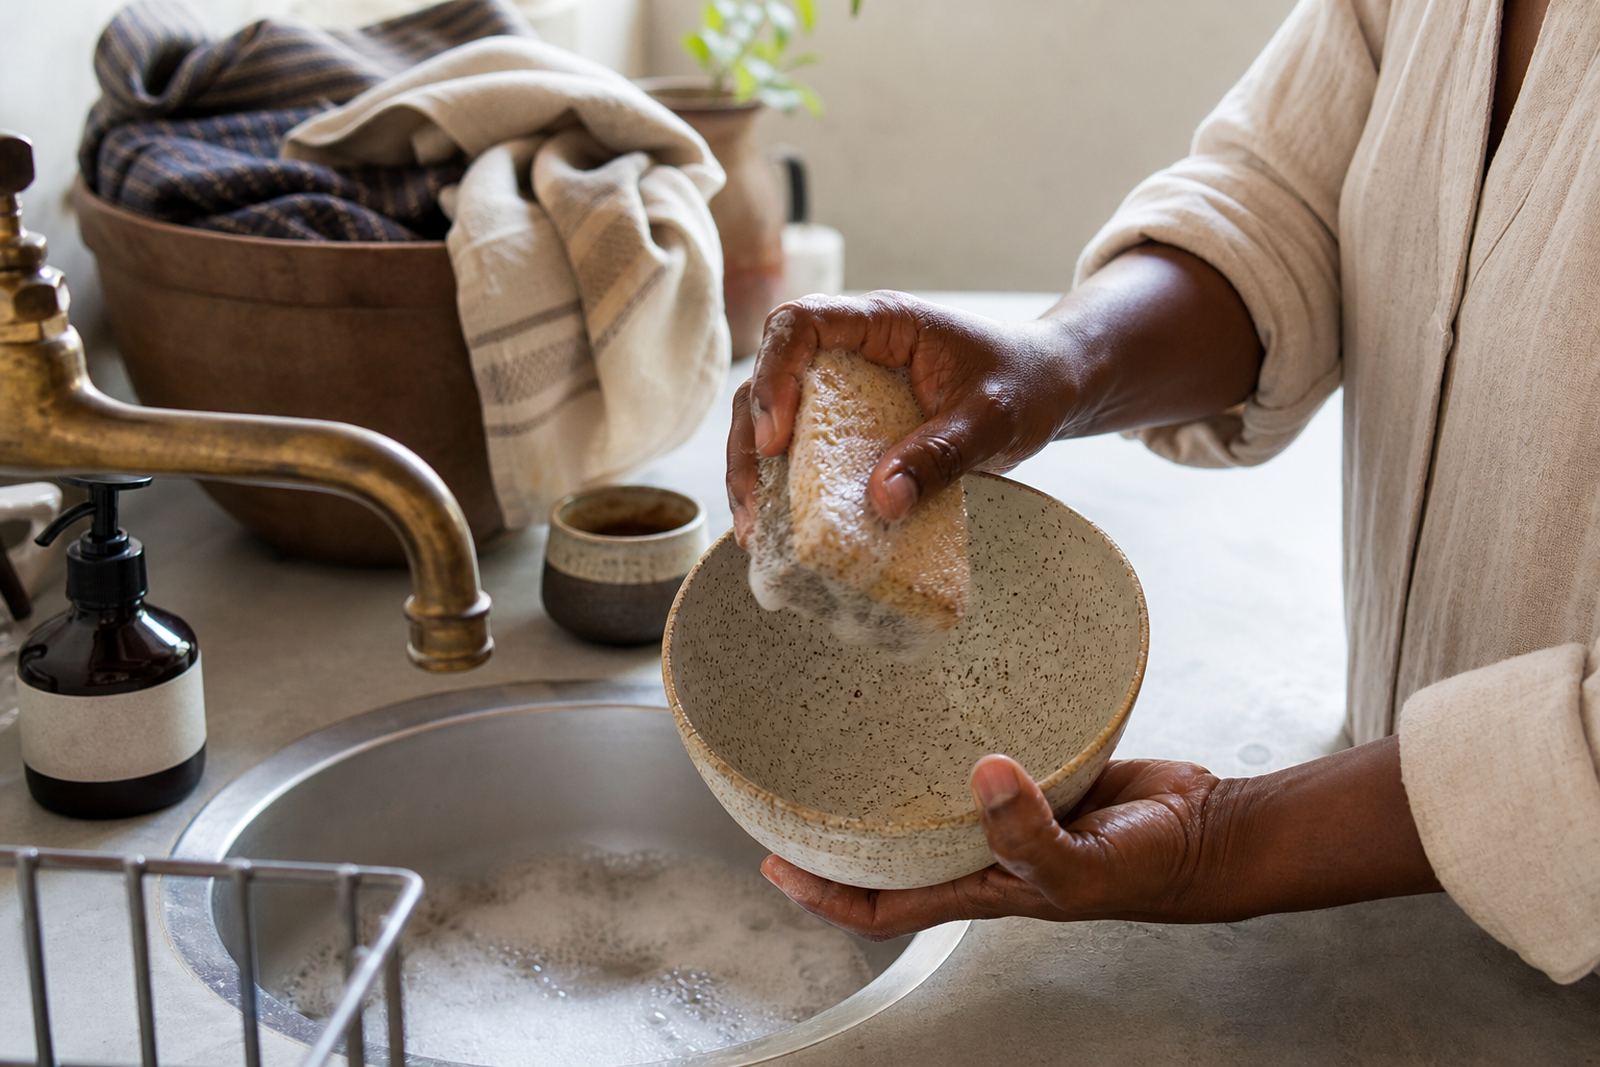
Many candleholders are made from ceramic or stoneware, often with a glazed exterior and an unglazed base. Glazed surfaces usually clean well with warm water and a drop of mild dish soap. Unglazed sections need a gentler touch because they can absorb marks from coloured wax or smoke. Keep the piece out of soaking water for long periods, especially if it has a decorative join or a narrow foot.
If soot has settled around the candle opening, wipe it with a soft cloth first. For stubborn grey marks, a damp cloth with a little mild soap is usually enough. Rinse with clean water and dry immediately with a lint-free towel. Leaving water to air dry on a matte glaze can leave spots, and on some handmade finishes it can leave a chalky ring.
- Wash with warm water and mild soap.
- Do not soak for long periods.
- Dry immediately with a soft cloth.
- Use a lint-free cloth for matte finishes.
Keep wood candleholders dry and lightly conditioned
Wooden candleholders need a drier cleaning routine than ceramic ones. Wipe away dust and wax with a soft cloth, then use a slightly damp cloth only if needed. Too much water can raise the grain or mark the finish. If the holder has been oiled or waxed by the maker, gentle cleaning protects that surface for longer.
For pieces that have lost their sheen, a small amount of suitable wood conditioner can help, but use it sparingly and only on clean dry wood. Apply with a cloth, following the grain, then buff lightly. Do not use furniture sprays with a heavy silicone finish, as they can build up over time and leave the surface looking patchy.
- Wipe dust off before any wet cleaning.
- Use only a slightly damp cloth if required.
- Apply conditioner lightly and only to dry wood.
- Buff in the direction of the grain.
Handle textiles and decorative accents gently
Some candleholders are paired with textile details, woven wraps or decorative elements like cord, leather ties or hand-finished inserts. These parts need separate care. Keep them away from direct water and do not rub them hard while removing wax. If a textile detail picks up a wax spot, let it harden fully first, then lift it slowly with your fingers or a blunt wooden edge.
Loose threads, stitched trim and natural fibre ties can snag during cleaning, so work slowly around them. If the piece includes delicate fabric, test any cleaning method on a small hidden area first. That helps protect colour, texture and shape. For display pieces used in a dining room or on a mantel, a light dusting every week keeps them looking tidy between deeper cleans.
- Keep textile parts away from soaking water.
- Let wax harden before touching it.
- Test cleaning on a hidden area first.
- Dust regularly to reduce deep cleaning.
Store and display so the holder lasts longer
Good storage matters just as much as cleaning. When a candleholder is not in use, keep it in a dry cupboard or on a shelf away from heavy knocks. Wrap fragile pieces in soft paper or a cloth bag if they are being moved between rooms or packed for gifting. In coastal homes around Cape Town or Durban, humidity can leave dust feeling damp, so a dry storage spot helps prevent marks on timber and some natural finishes.
Before lighting a candle again, check that the holder is fully clean and dry. Any leftover wax can affect the next burn and may stain the surface. If you use several holders together for a table setting, keep them level and spaced apart so heat does not transfer unevenly. A little care before and after use makes handmade pieces last longer and keeps their finish looking good.
- Store in a dry place away from knocks.
- Wrap fragile holders in soft paper or cloth.
- Check the piece is dry before relighting a candle.
- Keep holders level when grouped together.
When a mark will not shift
Some wax stains, soot marks or surface scuffs need a little more attention than a normal wipe. If the candleholder has a deep crack, flaking glaze or a finish that looks lifted, stop cleaning and set it aside. Pushing further can make the damage worse. For handmade pieces, small signs of use are normal, but a crack that reaches through the body or a loose base should be treated carefully.
If you are unsure, keep the piece dry and contact the supplier with clear photos of the problem. That helps identify whether it is a surface mark, a finish issue or a structural fault. For many handmade items, a gentle repair or replacement decision depends on the material and how the piece was used, so it helps to keep the original packaging if you still have it.