
Start with the right planter and the right place
Before planting, check what the planter is made from and where it will sit. Handmade ceramic planters are ideal for indoor use when they have proper drainage, while timber planters need extra care in humid rooms or on patios near the coast. Textiles and woven decor pieces should stay clear of direct splashing so they do not hold moisture for too long.
In Cape Town, sea air can leave a light salt film on glazed surfaces. In Johannesburg and Pretoria, indoor heating can dry out soil more quickly. Durban and the coastal suburbs bring higher humidity, which means wet soil may stay damp for longer. The same planter can perform differently depending on the room and the weather, so place it with that in mind.
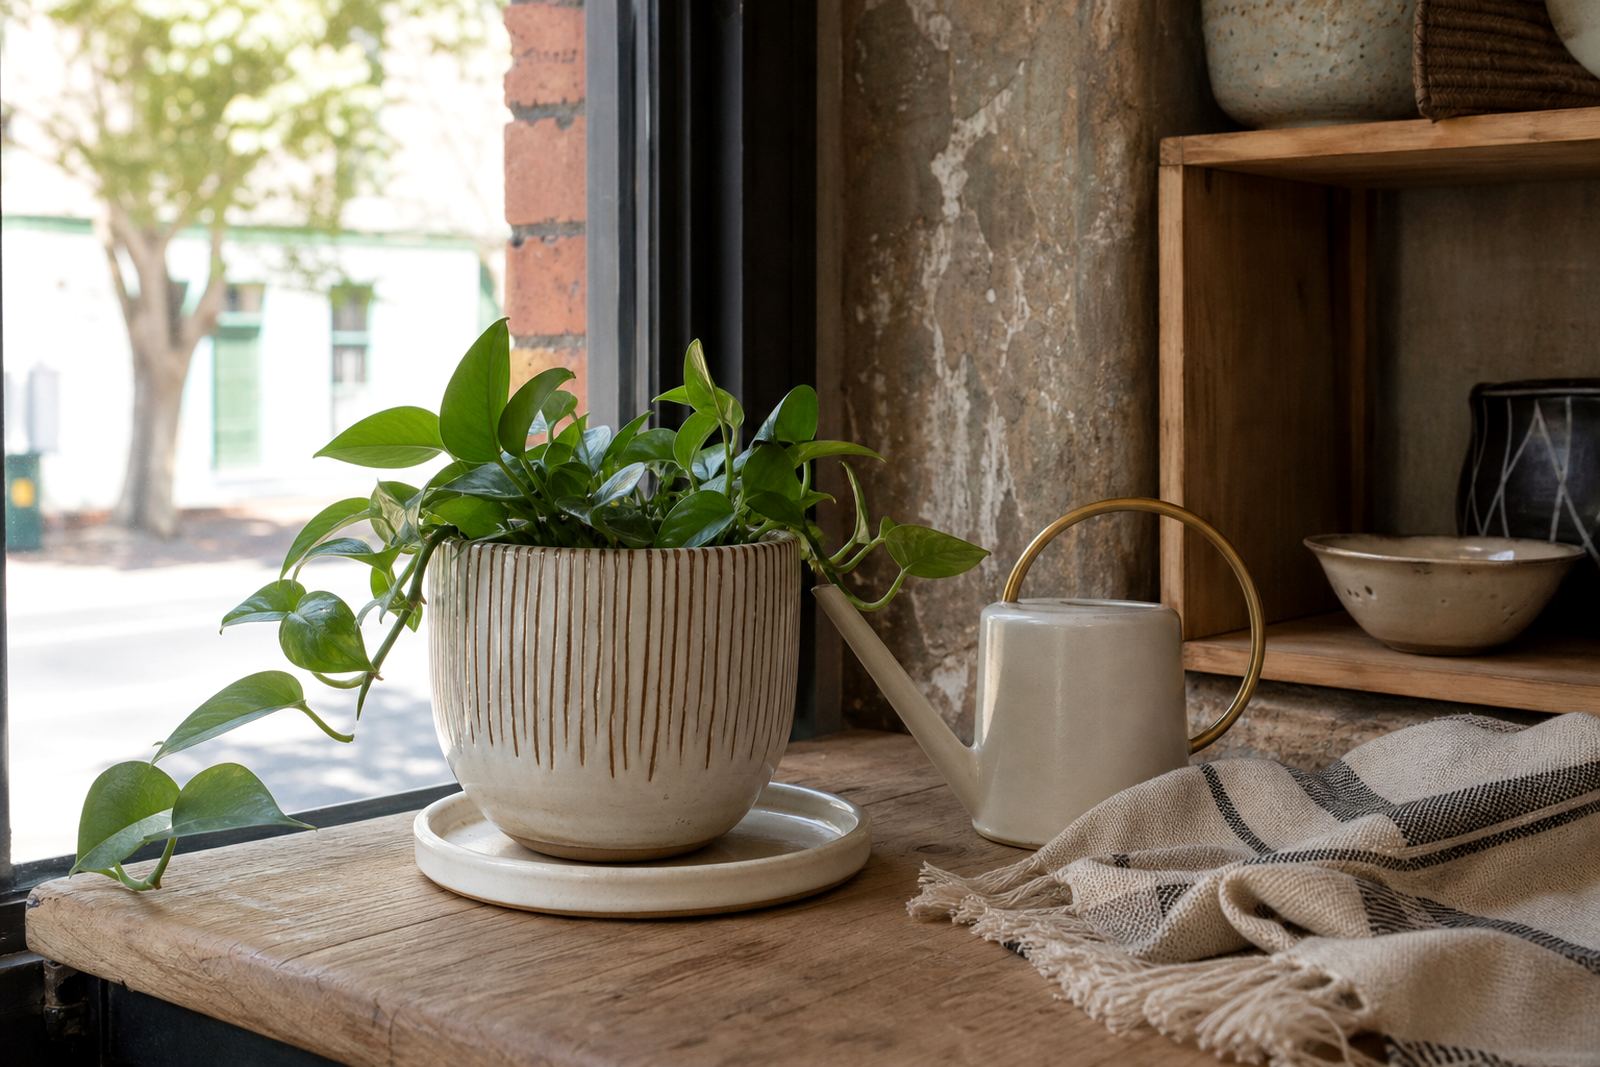
- Choose a saucer or tray that is slightly wider than the planter base.
- Check that the surface underneath can handle occasional drips.
- Keep timber planters away from constant standing water.
- Place fragile decor pieces where they will not be knocked over during watering.
Water in a way that protects the pot and the table
Most planter damage starts with too much water, not too little. Pour slowly and stop when the first drops begin to appear from the drainage holes. Let the excess drain fully before moving the planter back onto a shelf, windowsill or floor. If the base stays wet for long periods, the foot of a ceramic planter can stain the surface below and timber can swell or mark.
Use room temperature water where possible. Very cold water on a sun-warmed pot can cause unnecessary stress, especially with handmade ceramics that may have small variations in the clay body. If a planter has no drainage hole, water sparingly and only after checking that the soil has dried enough between waterings. That extra caution matters in humid areas such as Durban or along the Atlantic Seaboard.
- Water in the sink, on a tiled floor, or over a tray if the planter is heavy.
- Empty saucers after watering so roots do not sit in water.
- Use a watering can with a narrow spout for better control.
- Wipe the base before placing the planter back on polished wood or stone.
Drainage habits that make handmade planters last longer
Good drainage protects both the plant and the planter. If your pot has a drainage hole, make sure it is not blocked by compacted soil or a flat stone pressed over the opening. A small piece of mesh or broken terracotta over the hole can help keep soil in place without stopping water from moving through. That matters for handmade ceramics, where each pot may have its own shape and base finish.
For larger indoor planters, raise the pot slightly on feet or spacers so air can move underneath. This helps in damp corners and on outdoor patios where rain or mist may collect. If a planter sits directly on the floor, trapped moisture can leave rings on tiles, damage wooden decking or stain a woven mat. A little clearance makes daily care easier too.
- Make sure drainage holes stay open after repotting.
- Lift planters occasionally to check for damp marks underneath.
- Use a tray with a lip if the planter stands on a shelf.
- Do not let water sit in decorative sleeves or covers for long periods.
Cleaning ceramic, wood and woven finishes
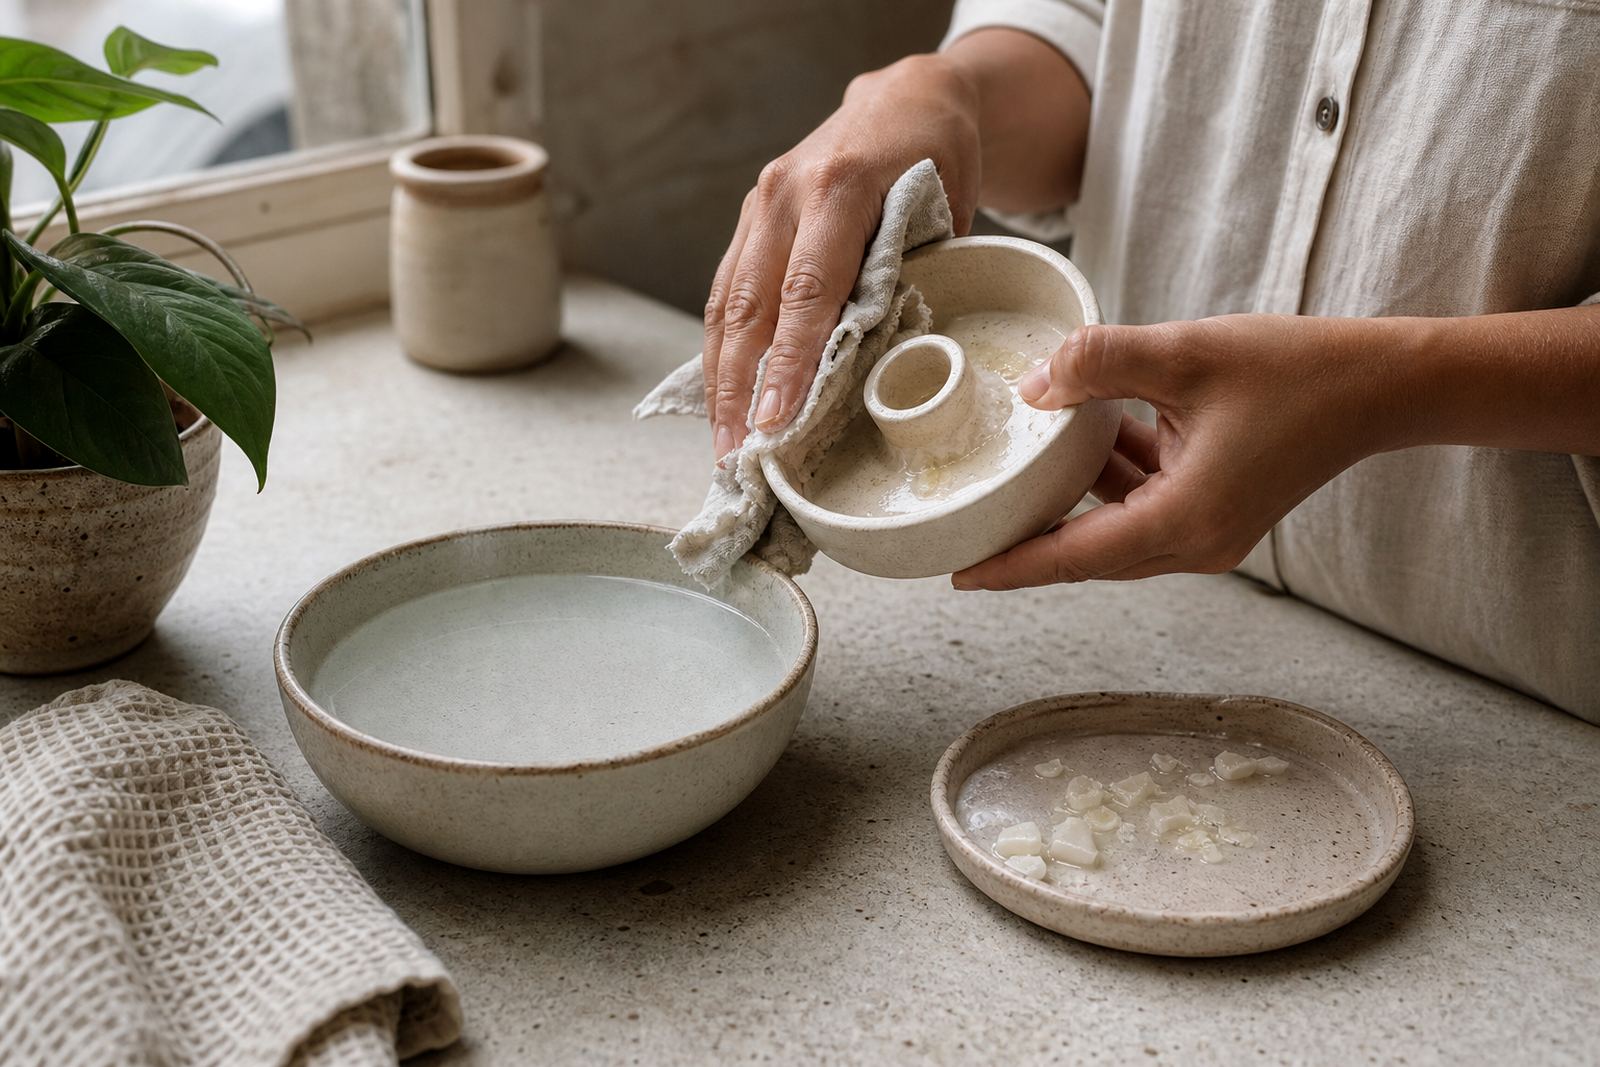
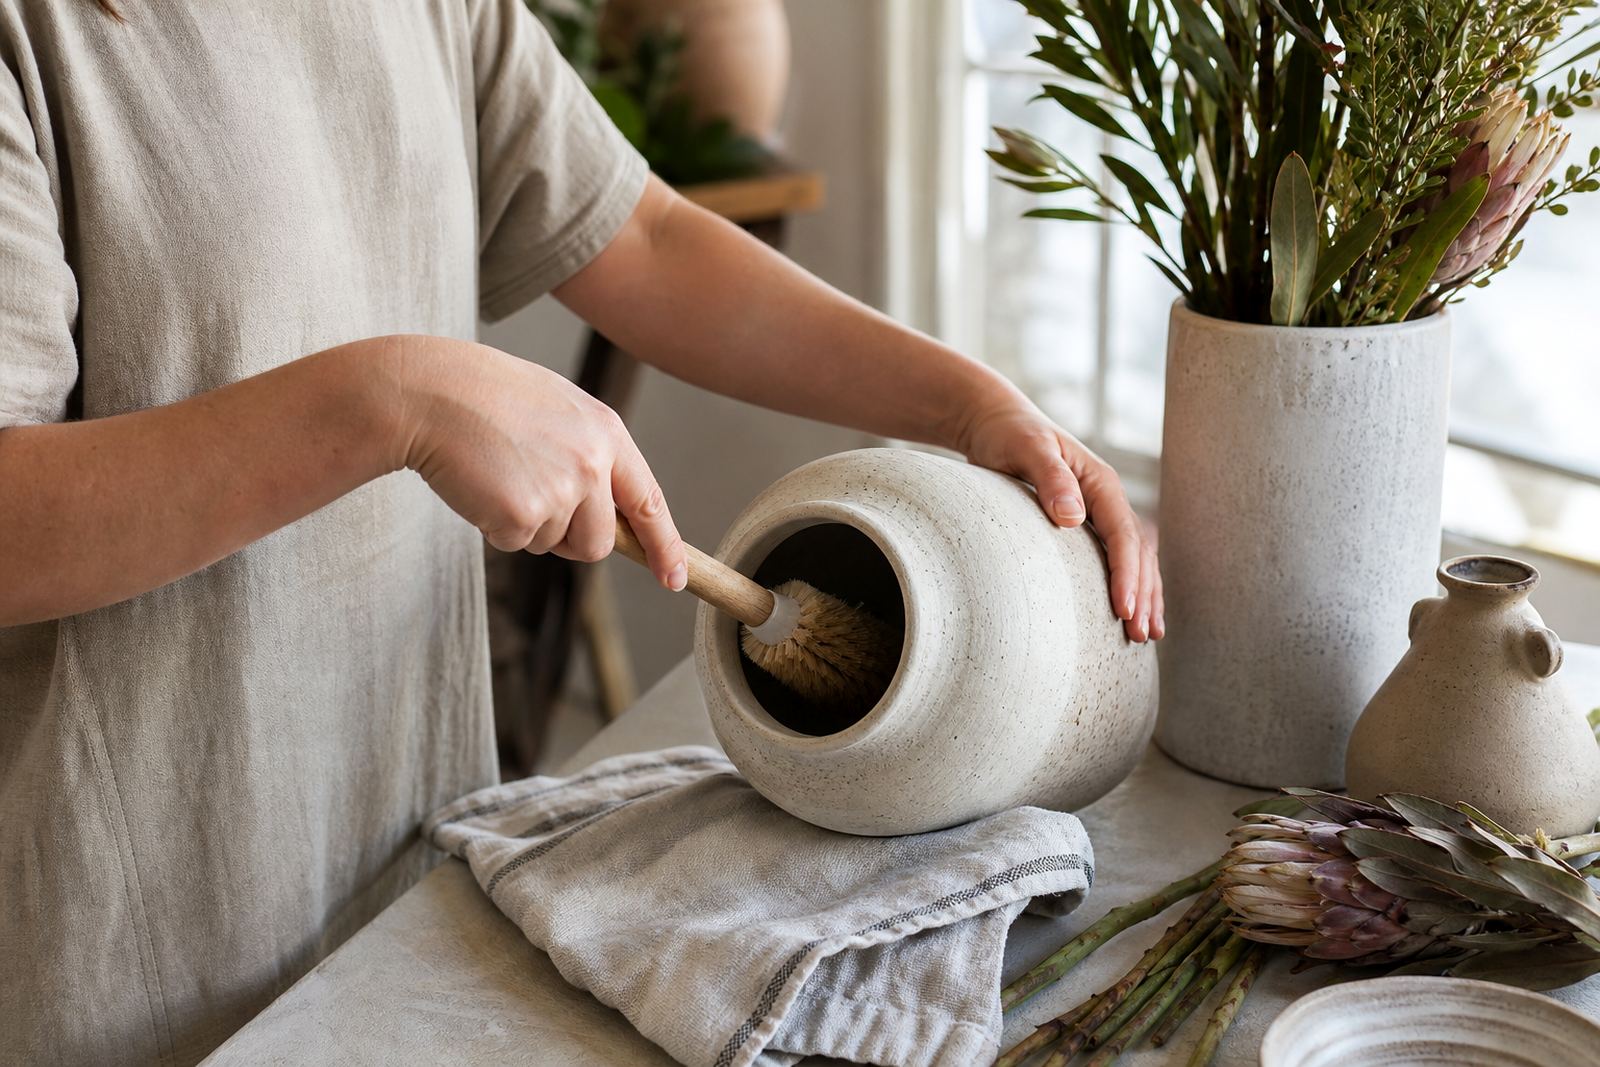
Handmade surfaces should be cleaned gently. For glazed ceramics, use a soft cloth with lukewarm water and a small amount of mild soap if needed. Avoid scouring pads and harsh cleaners, as these can dull the finish or mark hand-applied glaze. Unglazed bases may need a little extra drying after washing because they can hold moisture.
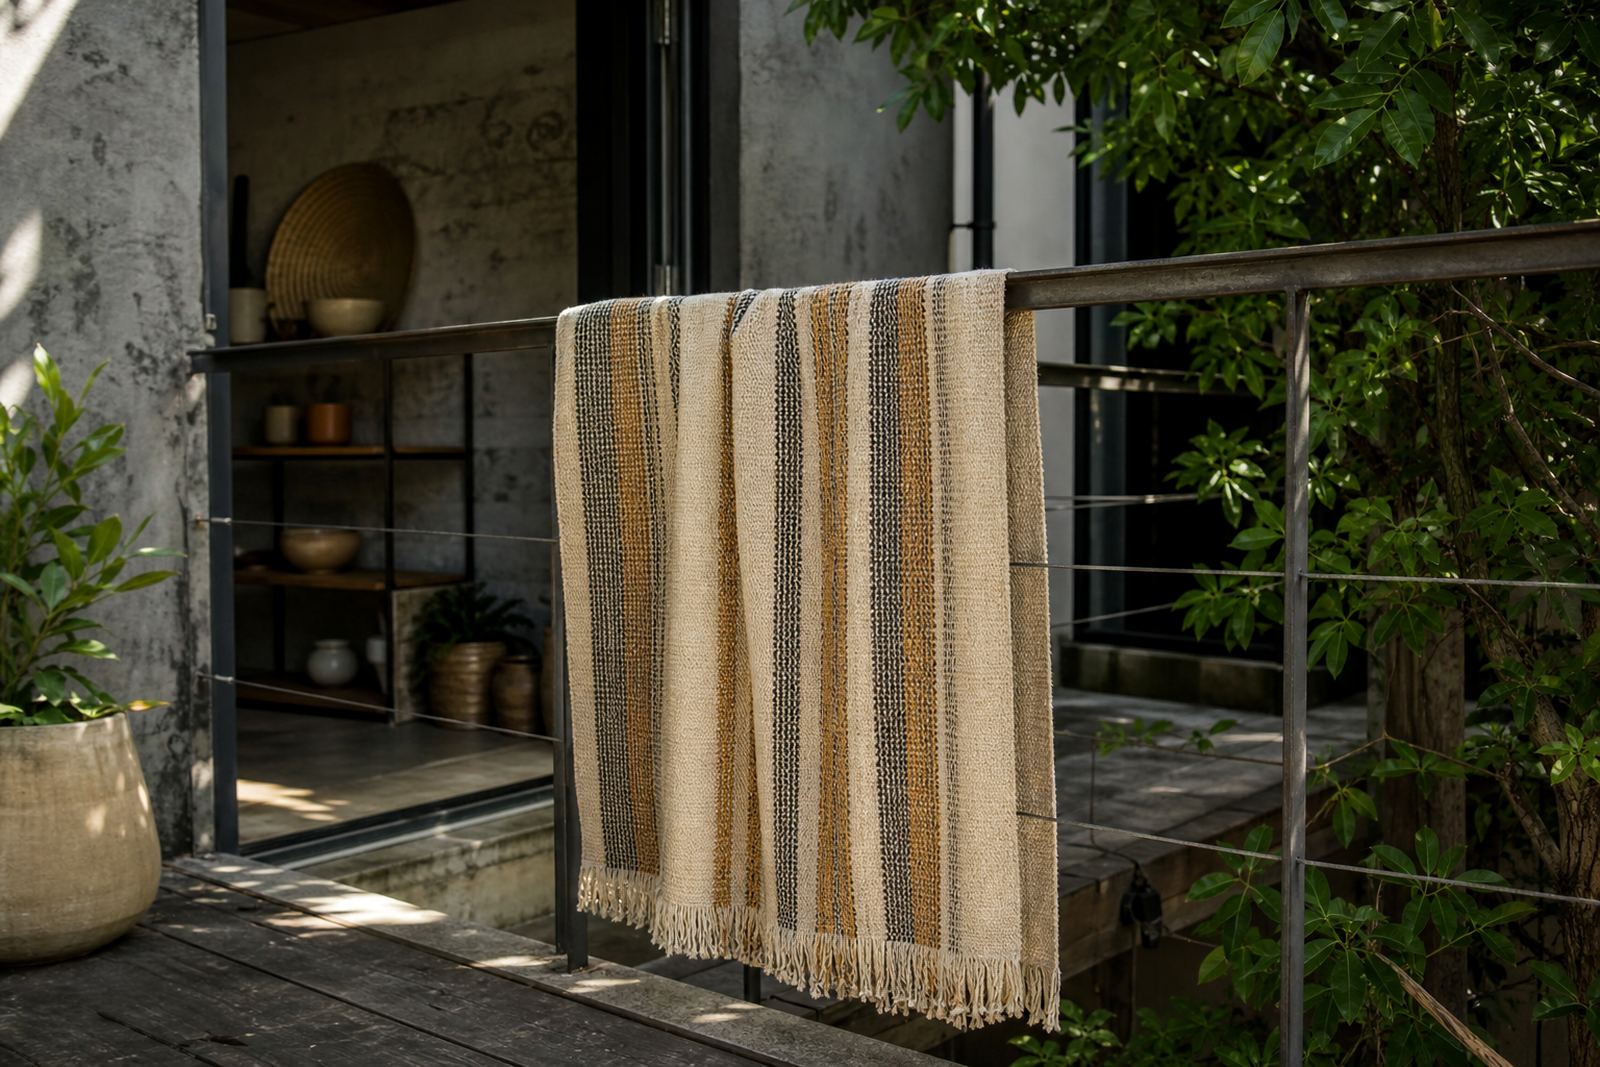
Wooden planters and trays need a dry cloth first, then only a lightly damp cloth if there is soil or dust. Wipe them dry straight away. If the wood has a natural oil finish, occasional re-oiling can help maintain the surface, but always test first on a small area. Woven textile covers, runners or decorative wraps should be kept dry and brushed clean rather than soaked. If they do become wet, dry them flat and out of direct sun so they keep their shape.
- Dust ceramic rims and bases with a dry microfibre cloth.
- Wipe spills before they soak into timber or fabric.
- Air-dry pieces fully before storing them.
- Keep abrasive cleaners away from painted or textured surfaces.
Seasonal care for South African homes
Season changes affect how planters behave. In summer, soil dries faster in inland homes and balcony gardens, so check moisture more often. In winter, especially in cooler parts of Cape Town or the highveld, the top of the soil may look dry while the lower layers still hold water. Adjust your watering rather than following the same routine all year.
During windy periods, lightweight decorative planters can shift, so place them where they are stable and sheltered. Coastal homes may need more frequent wiping to remove salt residue from ceramic and metal accents. In areas with load-shedding, indoor plants often sit near windows for longer stretches, which can increase direct sun exposure on glazed surfaces. Rotate the planter now and then so one side does not fade or dry unevenly.
A quick care check before the week begins
A short weekly check helps you catch small problems before they spread to the planter or the surface underneath. Look at the drainage, the base, the soil and any surrounding decor. If a planter has started to leave marks, move it, dry the area and inspect the saucer. If a textile cover is beginning to feel damp, remove it and let it air properly before using it again.
For homes that use several planters together, such as a windowsill row or a grouped display in a hallway, consistency matters. Keep each pot on a stable base and leave space between them so air can move around the sides. That gives handmade pieces a better chance of staying clean and helps the whole display look tidy without much effort.
- Check for standing water in saucers.
- Wipe off soil marks on the rim and base.
- Inspect for chips, cracks or loose glaze around the drainage area.
- Make sure the planter is not leaving a ring on the surface below.