
Start with the jar material before you wash
Handmade storage jars are often made from ceramic, glass or timber, and each one needs a slightly different approach. A glazed ceramic jar can usually handle a gentle hand wash, while wooden lids or cork seals need less water and more drying time. If a jar has a fitted lid, check both parts after use so moisture does not sit in the rim or groove.
In coastal homes around Cape Town, humidity can slow drying, so it helps to leave jars open for a while after washing. In drier inland areas, a simple air dry is usually enough, but the same rule still applies: do not put a lid back on while the inside is damp.
A steady cleaning routine keeps jars fresh
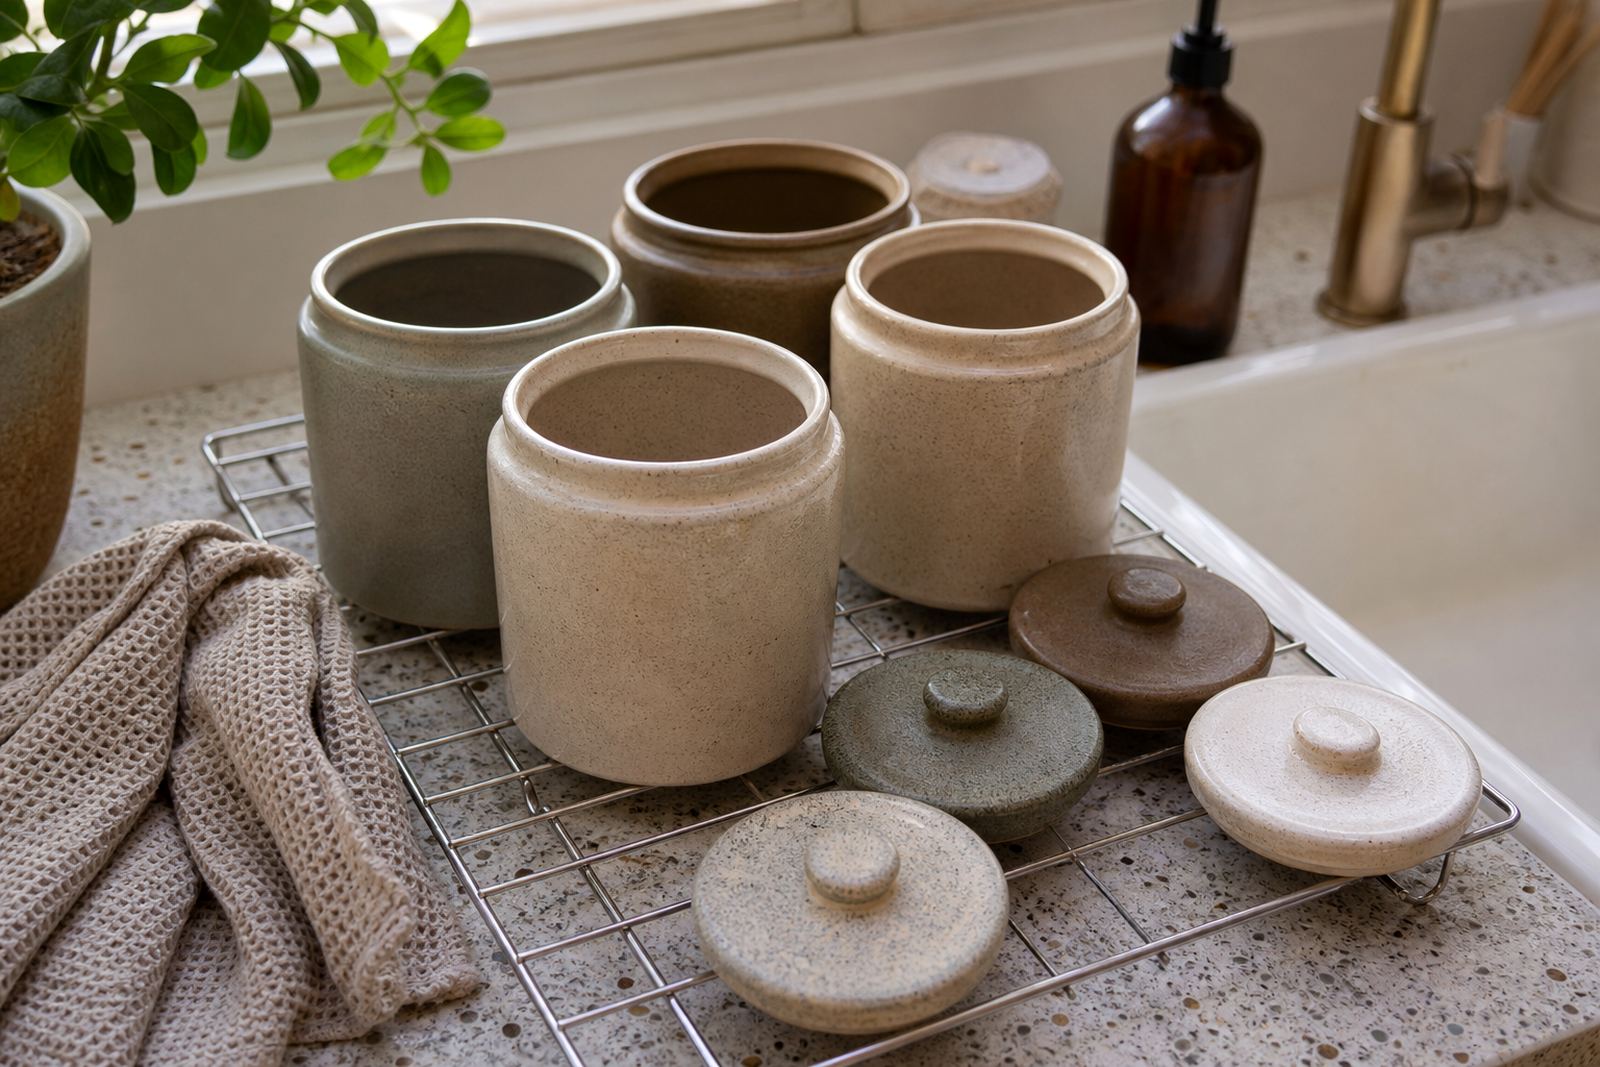
For everyday use, warm water and a small amount of mild dish soap is usually enough. A soft sponge or cloth works better than anything abrasive, especially on hand-finished surfaces and painted details. If a jar holds dry goods like tea, lentils or rusks, empty it fully before washing and remove crumbs from the base and rim.
- Wash the jar by hand in warm, soapy water
- Rinse well so no soap film stays behind
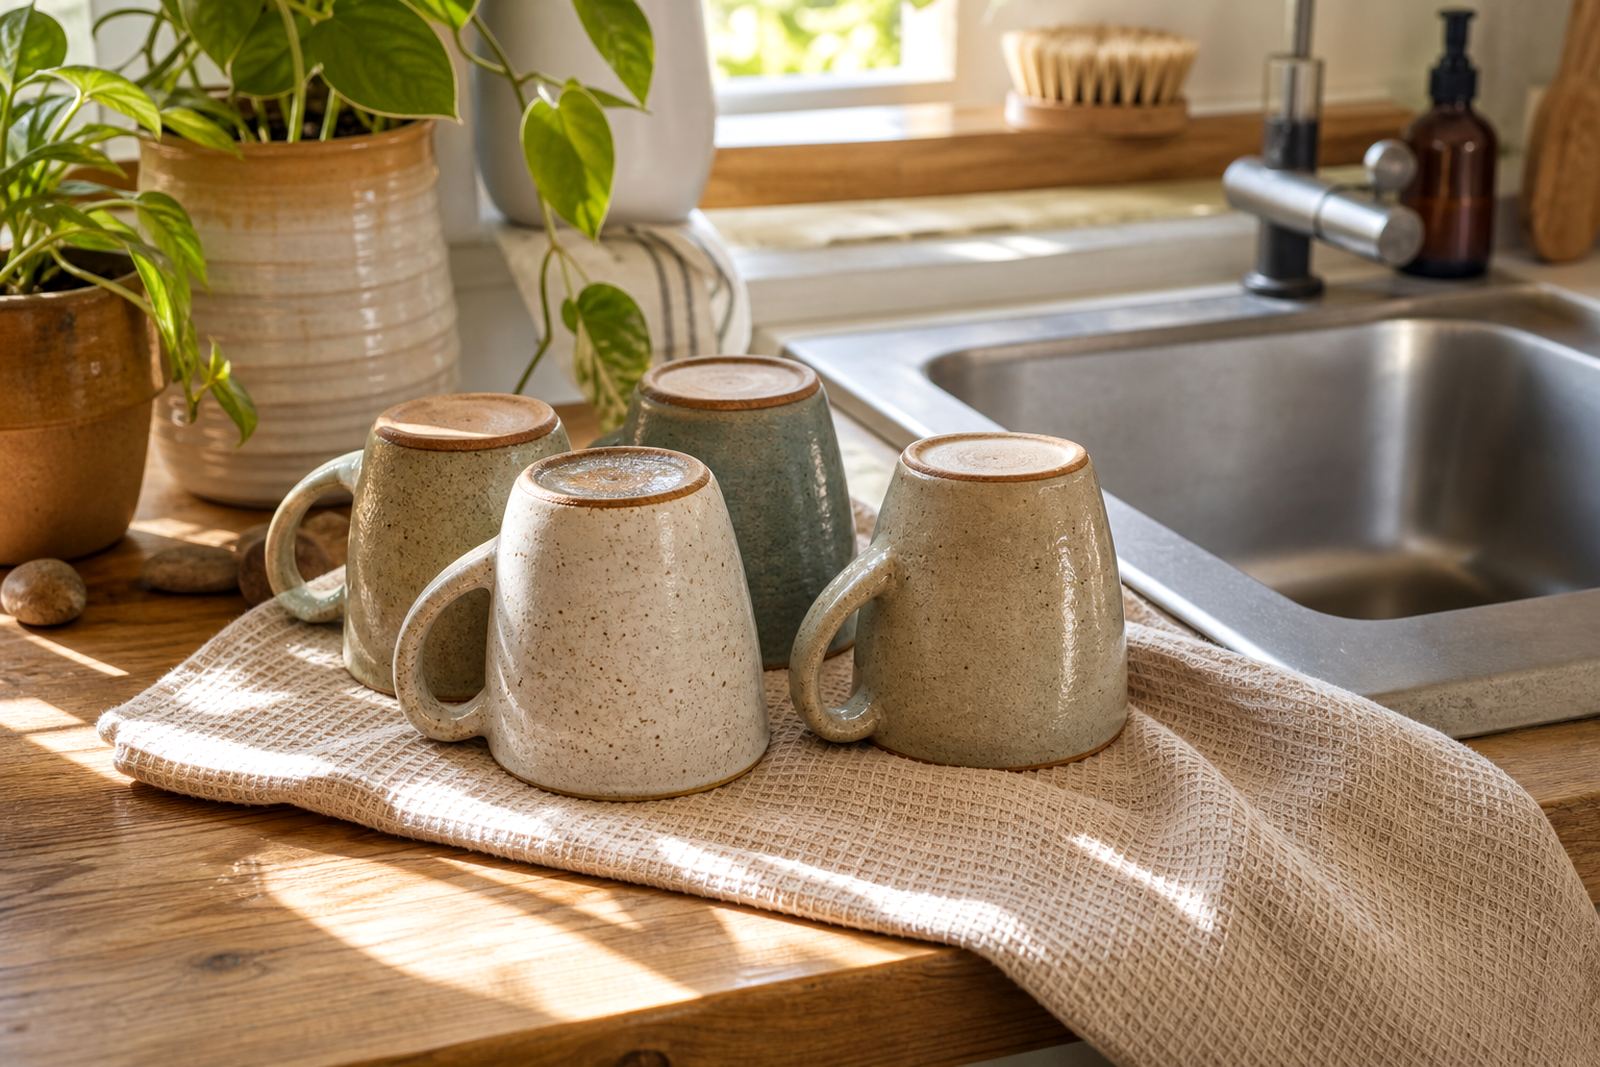
- Dry with a clean tea towel, then leave it open to air dry
- Wipe the lid and seal carefully, especially around grooves and edges
- Check for trapped moisture before refilling
If a jar is used daily, a quick rinse and dry between deep cleans can help keep odours away. For sugar, coffee or spices, a regular wipe-out is often enough unless spills have hardened inside.
Handle ceramic jars with a light touch
Handmade ceramic jars are durable for normal kitchen use, but they can chip if knocked against basins, counters or other crockery. Avoid sudden temperature changes too. A jar that has been washed in hot water should not be filled immediately with very cold ingredients, and the reverse also applies. It is a small thing, but it helps reduce stress on the clay.
Glazed surfaces can usually take gentle cleaning, though rough scourers may leave marks over time. If the jar has a matt finish or unglazed base, wipe that part dry after washing so water does not sit in the porous section. Small hairline marks in the glaze can happen in handmade pieces, and that does not always mean the jar is unusable, but it should be watched for any deeper cracking.
Look after wooden lids, cork seals and natural finishes
Many storage jars use timber lids or cork inserts to create a snug fit. These parts need more care than the body of the jar. Do not soak them, and do not leave them in standing water. Instead, wipe them with a damp cloth, then dry immediately. If a lid has a rubber or silicone seal, remove it now and then for cleaning so crumbs or syrup do not build up underneath.
- Wipe wooden lids with a damp cloth, not a soaking wet one
- Dry the lid straight away and leave it off the jar for a while
- Rub a little food-safe oil into dry timber only if the finish allows it
- Keep cork away from direct heat and prolonged dampness
- Store lids separately if the kitchen is very humid
In places with sea air, like the Atlantic Seaboard or Southern Suburbs, natural finishes can take on moisture more quickly. Good drying habits matter more than harsh cleaners ever will.
When stains, smells or residue show up
Tea, turmeric, spice blends and oily foods can leave a mark inside jars after a while. For light staining, soak the jar in warm water with a little soap, then clean with a soft cloth. For stronger smells, fill the jar with warm water and a spoon of bicarbonate of soda, leave it for a few hours, then rinse and dry fully. If the jar has a decorative interior, test a small area first and avoid anything gritty.
Sticky residue can be loosened by letting the jar sit in warm water before wiping. Do not use metal tools to scrape hardened food from the inside, because that can mark the glaze or scratch the surface. Patience is better here, even if the jar is part of a busy prep shelf.
Storage habits that help jars last longer
Where and how you store the jar matters almost as much as how you clean it. Keep jars away from oven heat, wet sink edges and spots where they may be bumped. If jars are stacked for storage, place a soft cloth or paper between them. For display shelves, check that the base sits flat and the lid closes without forcing it.
- Store jars in a dry cupboard or on a stable shelf
- Leave a little space between items so they do not chip
- Refill only when both jar and lid are completely dry
- Rotate jars used for salt, sugar and spices so one does not stay damp too long
- Inspect seals, rims and handles during routine cleaning
For homes that use jars in gift hampers, wedding gifting or corporate gifting, a little care note tucked inside can help the recipient keep the set in good condition. That matters when the jars are meant to be used, not just admired.
A quick check before the next refill
Before you refill a storage jar, give it a final look over. The inside should be dry, the lid should fit properly and there should be no chips on the rim. If the jar was used for strongly scented ingredients, a quick rinse and full dry can prevent mixed flavours later on. This small habit keeps kitchen cupboards neater and the jars more practical day to day.
If a jar needs replacement help, or if you are matching it with a curated gift box, housewarming set or custom bundle, it is worth choosing pieces that suit how the kitchen is used. A handmade jar lasts best when the care routine stays simple and consistent.